Text and Tex
There are three ways to create texts in Manim:
With system fonts:
Text.With PangoMarkup:
MarkupText.With LaTeX:
TexandMathTex.
The simplest is with Text, so we’ll start with that.
Text
Fonts
Text is a subclass of SVGMobject. The text is rendered using Pango and uses the fonts you have installed.
To see all the fonts you can use the command:
python -c "import manimpango; from pprint import pprint; pprint(manimpango.list_fonts())"
It will give you an output like this:
['Academy Engraved LET',
'Al Bayan',
'Al Nile',
'Al Tarikh',
'American Typewriter',
'Andale Mono',
'Apple Braille',
'Apple Chancery',
'Apple Color Emoji',
'Apple SD Gothic Neo',
'Apple Symbols',
'AppleGothic',
'AppleMyungjo',
....
....
]
If you use a shell like BASH (or similar) you can do something like this:
python -c "import manimpango; from pprint import pprint; pprint(manimpango.list_fonts())" | grep -i arial
To filter your search.
How to use it
Since it is an SVGMobject, then you can use all the methods of the VMobjects, i.e. set the stroke_width, fill_opacity, etc. By default the stroke is 0, but you can change that yourself.
def construct(self):
    t = Text("Hello world")
    self.add(t)
I invite you to change the color, stroke width, fill color, stroke color, etc. Either using methods after the instance, or at the time of the instance.
To indicate the font we want to use, we can indicate it in the “font” parameter:
def construct(self):
    t = Text("Hello world", font="Arial")
    self.add(t)
As array
Text can be understood as SVG arrays, and thanks to this you can select each letter:
def construct(self):
    t = Text("Hello world", font="Arial")
    t[0].set_color(RED)
    t[3].set_color(TEAL)
    self.add(t)
Show result

Line spacing
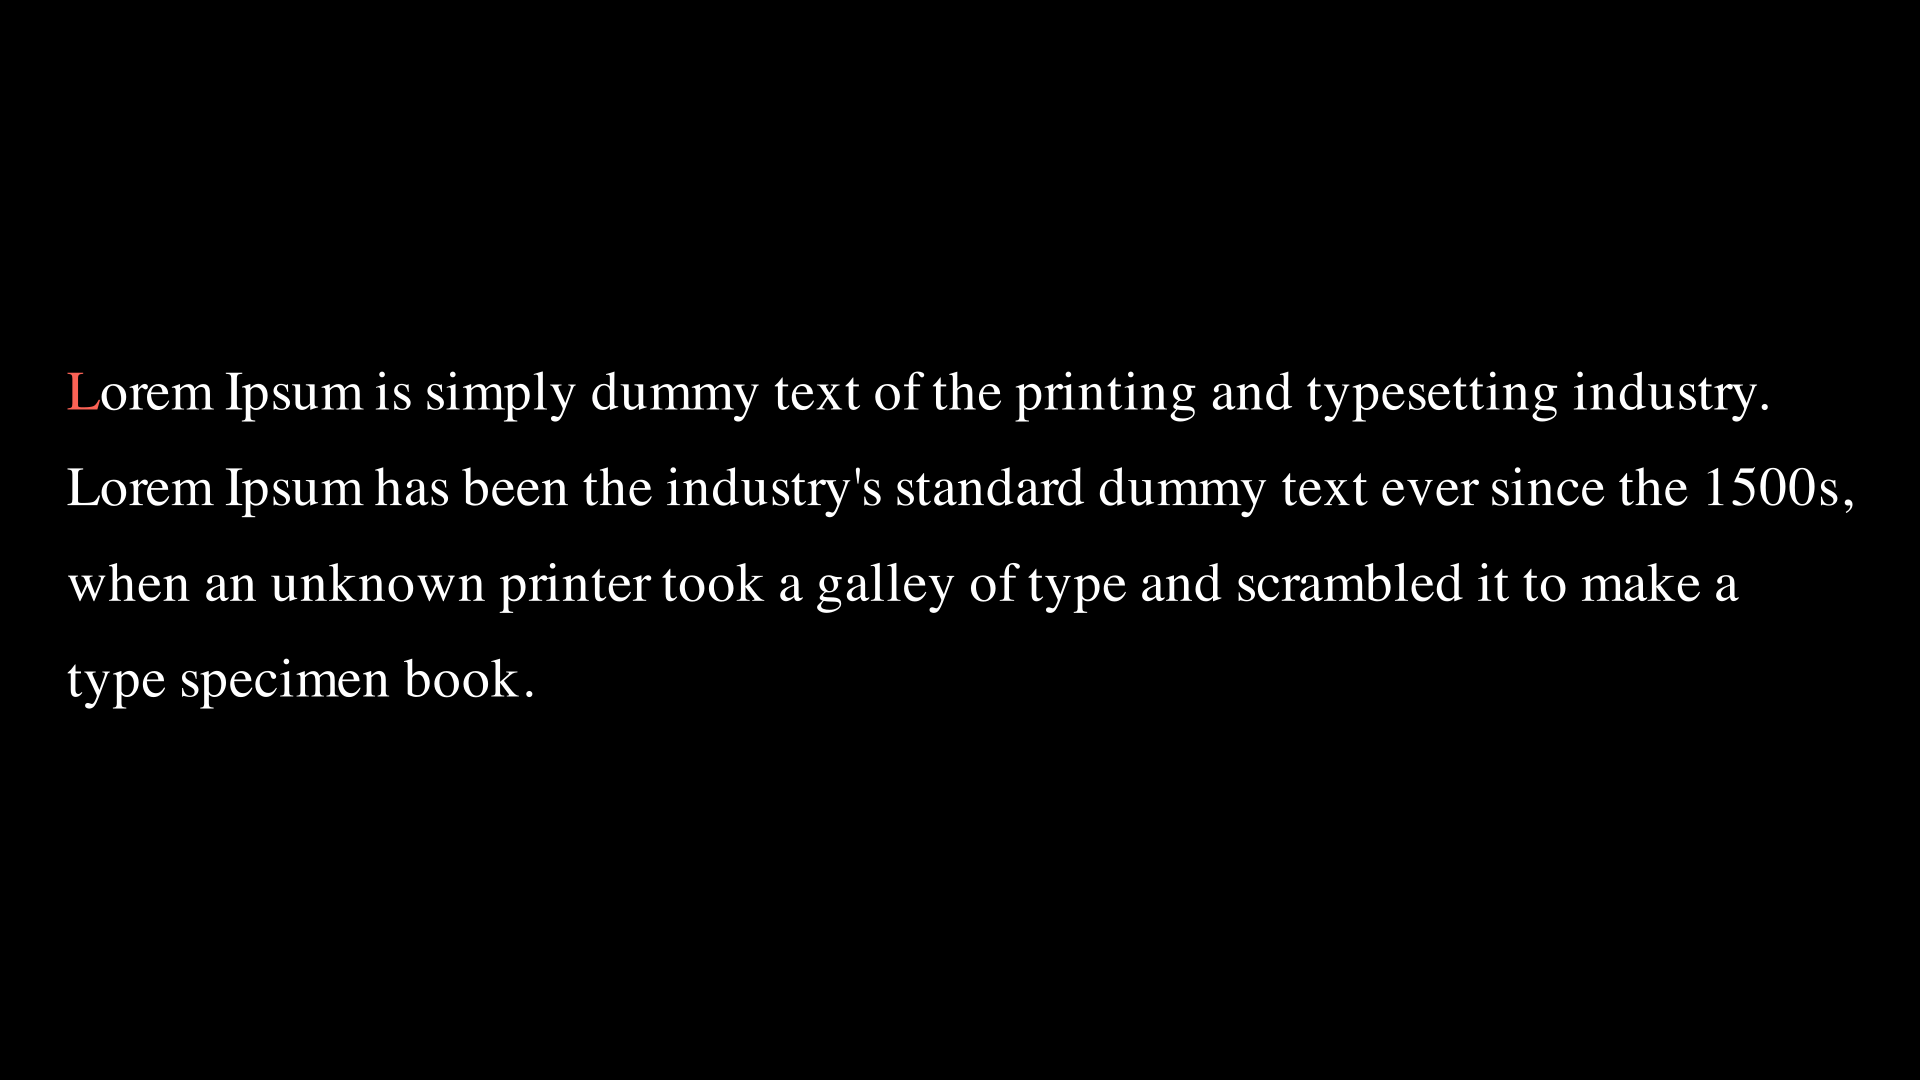
If the text is long enough you can use triple quotes:
def construct(self):
    t = Text(
        """
        Lorem Ipsum is simply dummy text of the printing and typesetting industry.
        Lorem Ipsum has been the industry's standard dummy text ever since the 1500s,
        when an unknown printer took a galley of type and scrambled it to make a
        type specimen book.
        """,
        line_spacing=1.3 # space between lines
    )
    t.width = config.frame_width - 1
    t[0].set_color(RED)
    self.add(t)
Show result
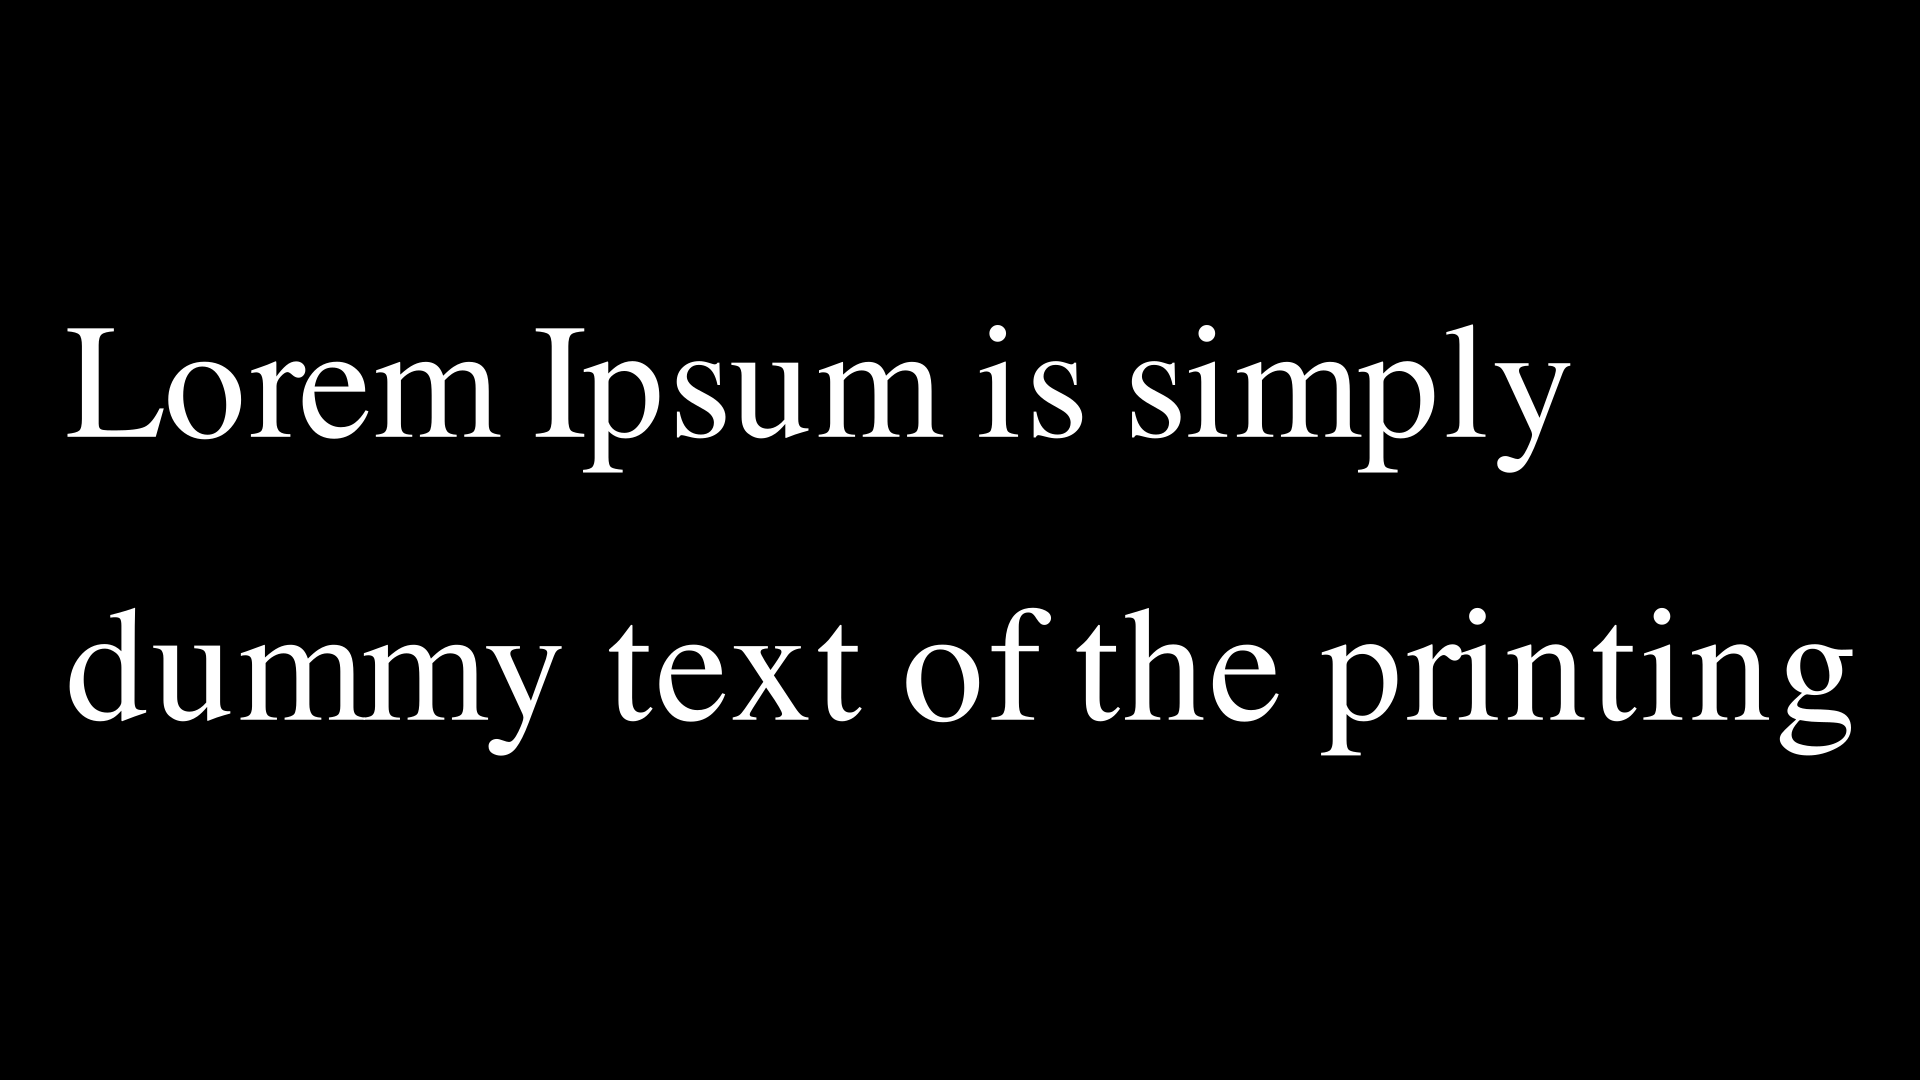
But if you want to do it in a single line, you can do it using \n:
def construct(self):
    t = Text(
        "Lorem Ipsum is simply\ndummy text of the printing",
        line_spacing=1.3 # space between lines
    )
    t.width = config.frame_width - 1
    self.add(t)
Show result
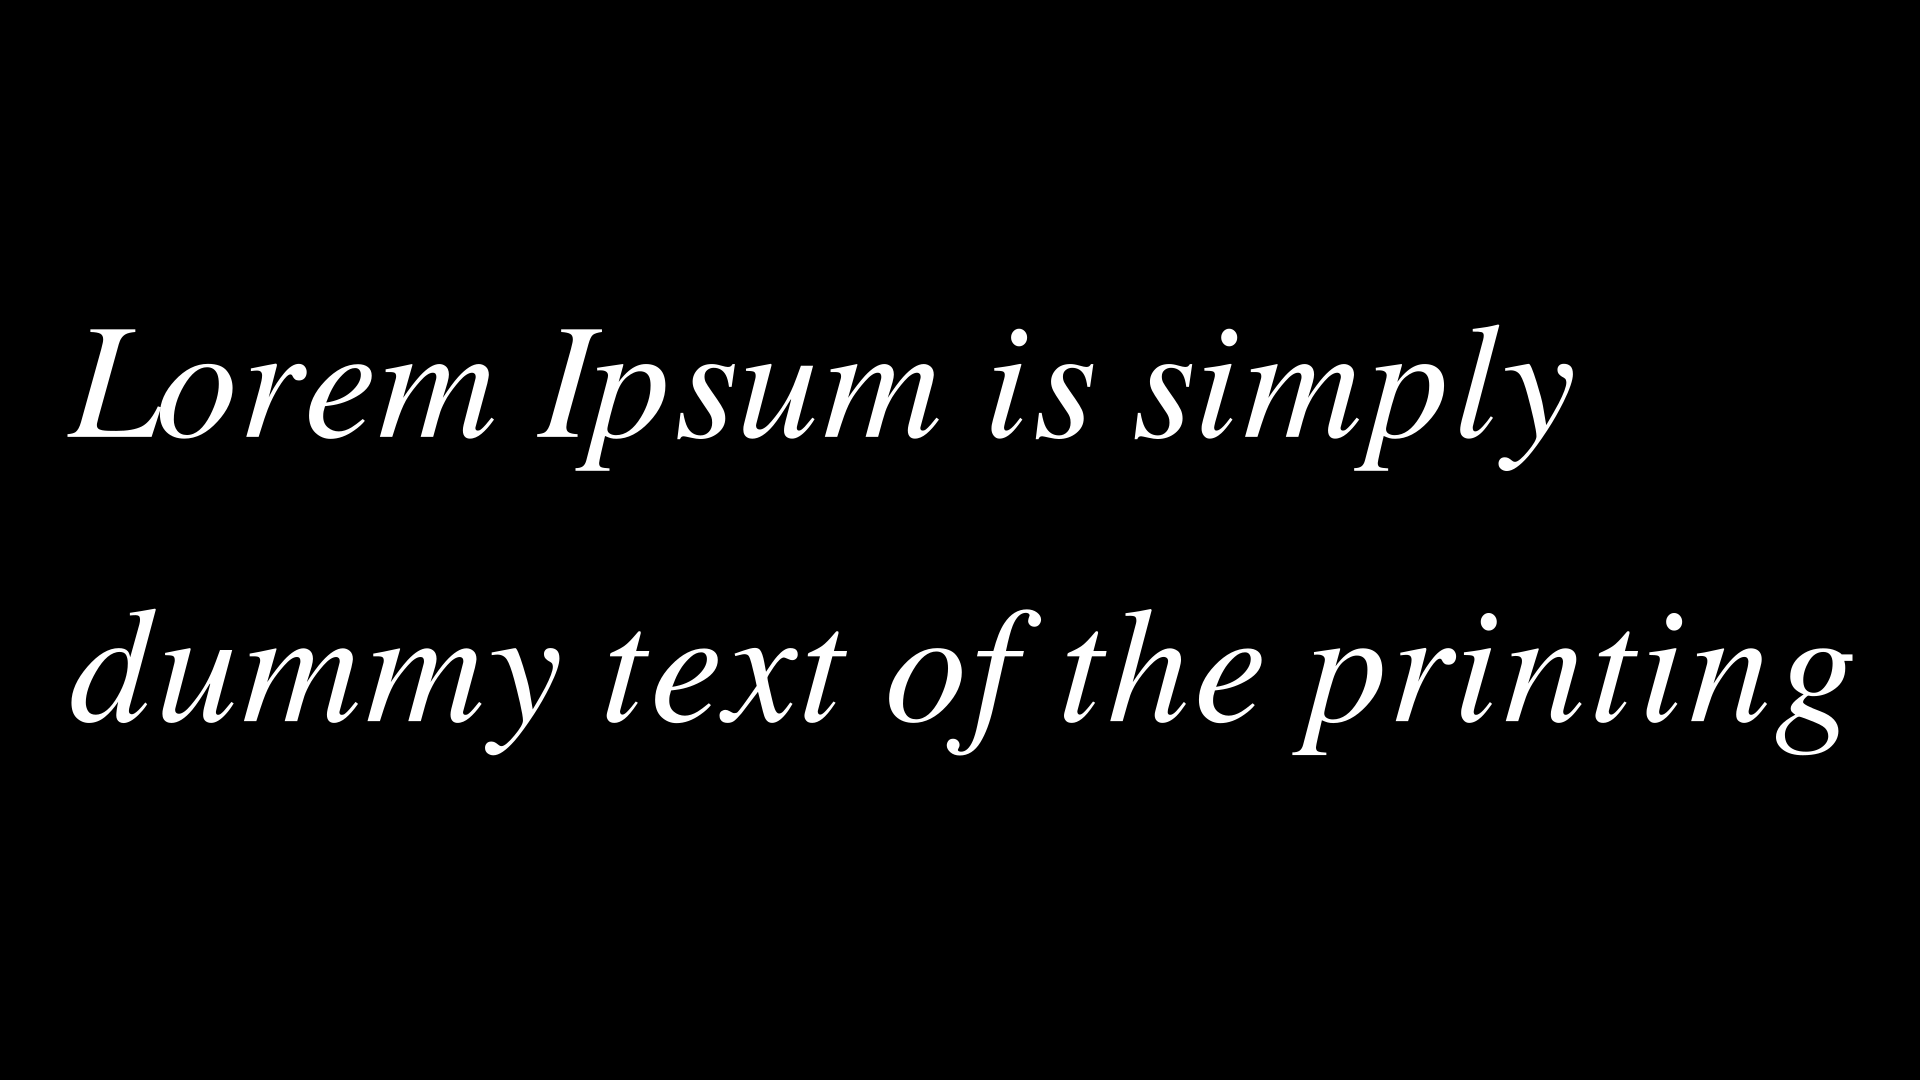
Slant and Weight
Slant is the style of the Text, and it can be NORMAL (the default), ITALIC or OBLIQUE. Usually, for many fonts both ITALIC and OBLIQUE look similar, but ITALIC uses Roman Style, whereas OBLIQUE uses Italic Style.
def construct(self):
    t = Text(
        "Lorem Ipsum is simply\ndummy text of the printing",
        line_spacing=1.3, # space between lines
        slant=ITALIC
    )
    t.width = config.frame_width - 1
    self.add(t)
Show result
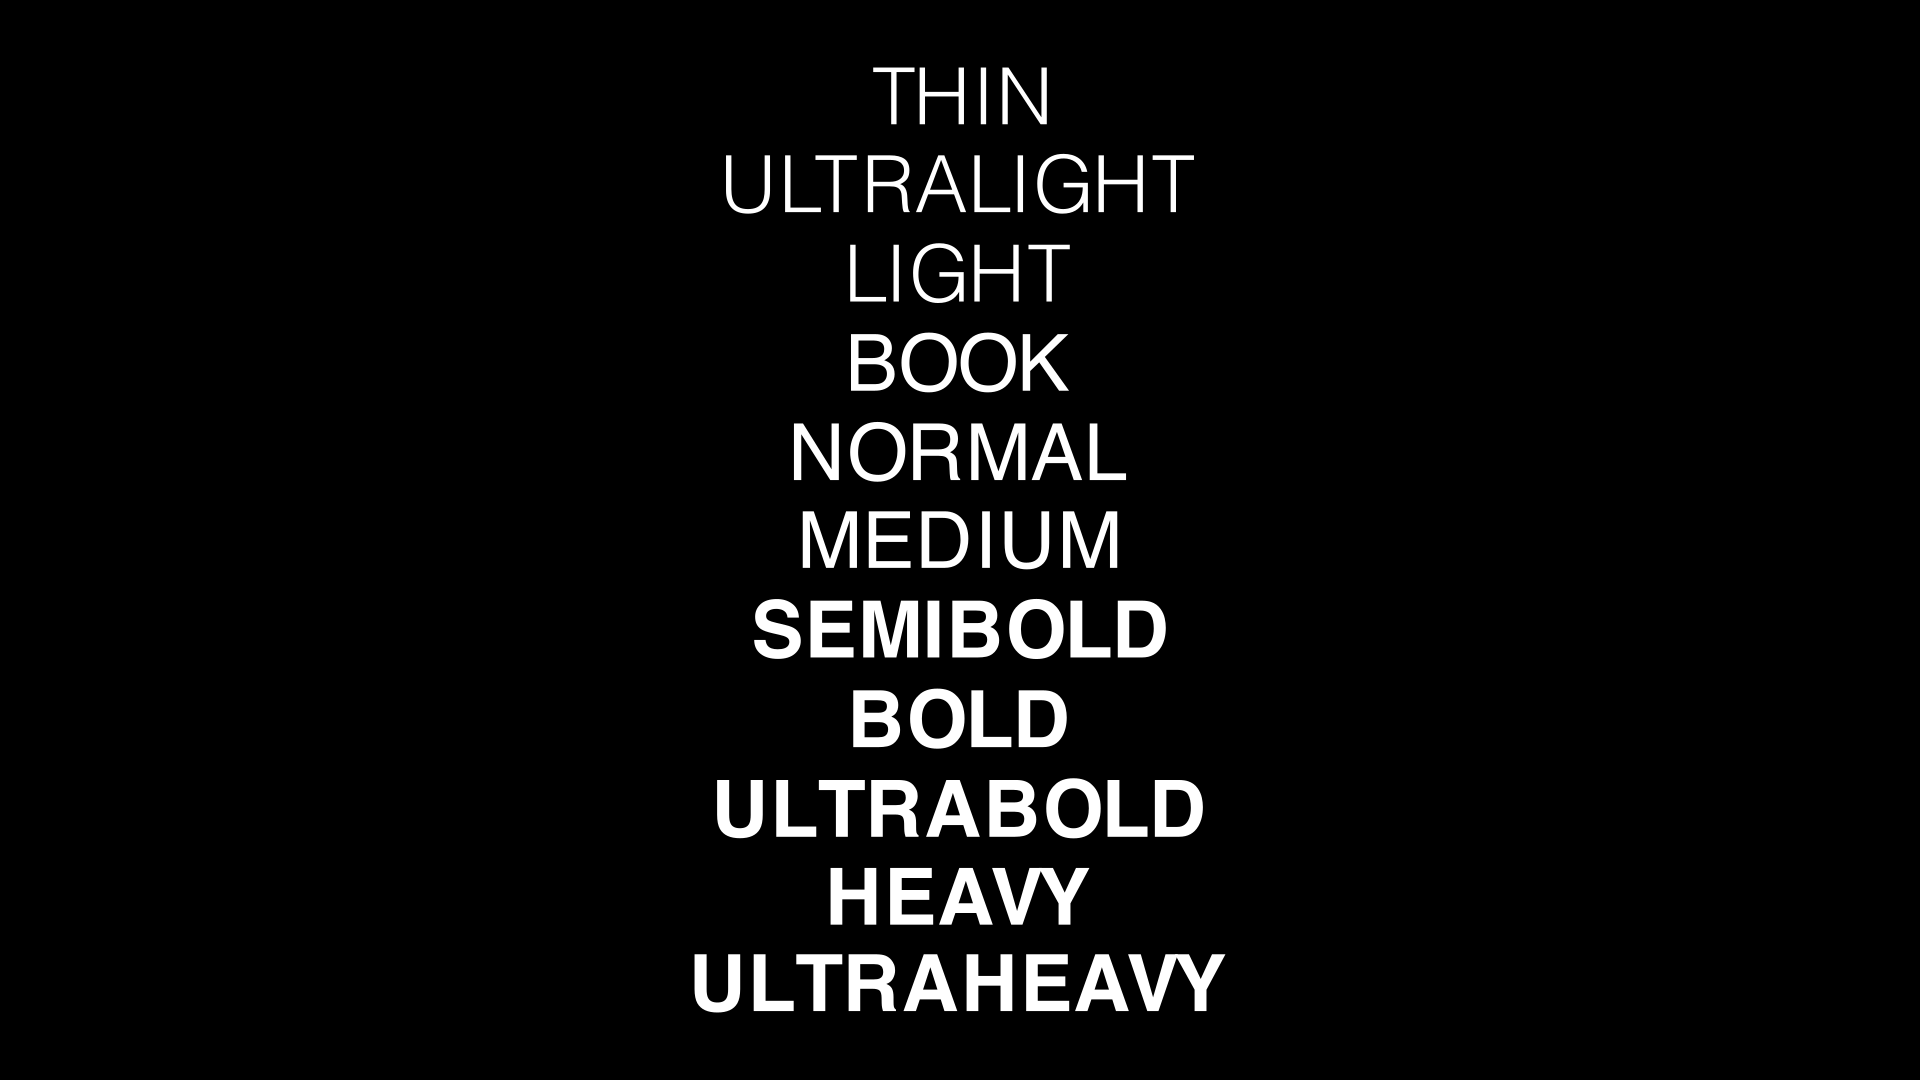
The different types of weight can be obtained from ManimPango:
def construct(self):
    import manimpango as mp
    weight_list = dict(
        sorted(
            {
                weight: mp.Weight(weight).value
                for weight in mp.Weight
            }.items(), key=lambda x: x[1])
    )

    grp = VGroup(*[
        Text(weight.name, weight=weight.name, font="Open Sans")
        for weight in weight_list
    ]).arrange(DOWN)
    grp.height = config.frame_height - 1
    self.add(grp)
Show result
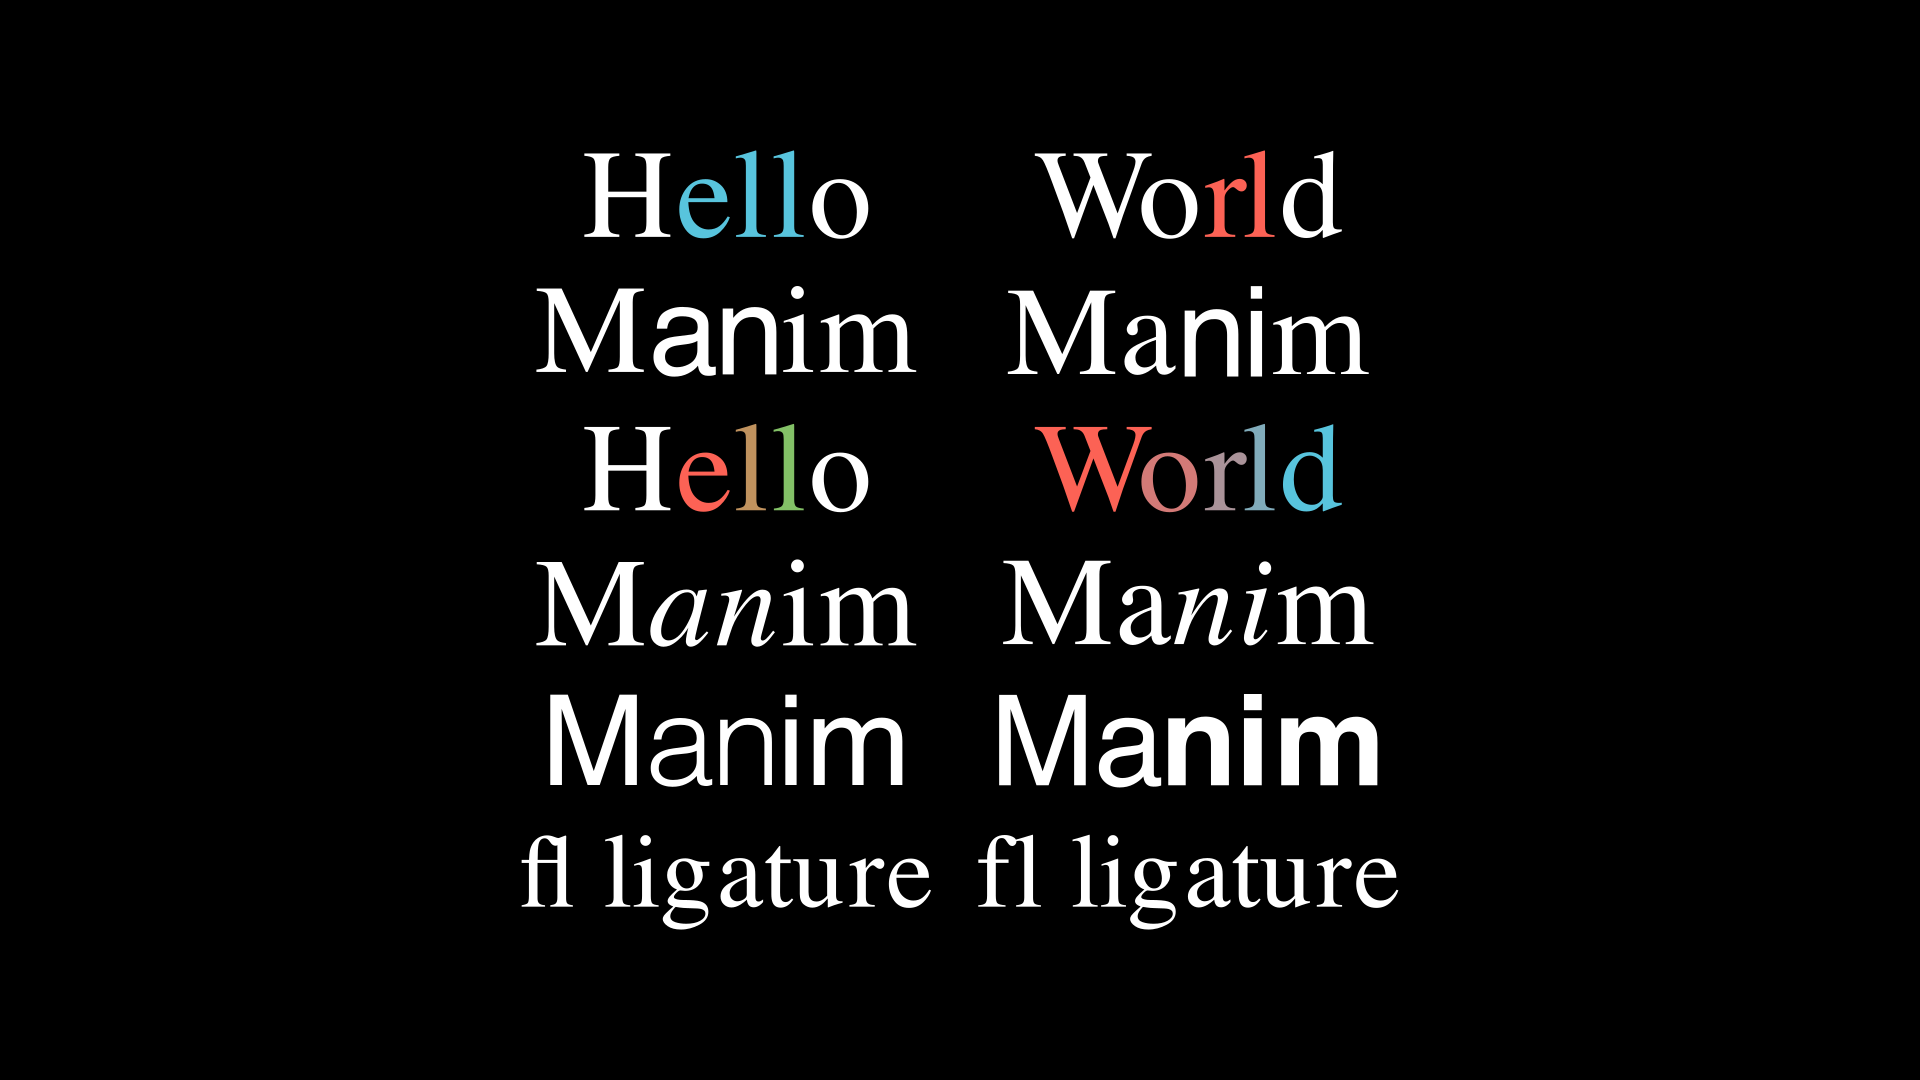
Text to *
There are some functions that allow us to manipulate sections of text in a simple way, however, if there are repetitions of text, these functions may not behave correctly.
def construct(self):
    grp = VGroup(
        # Text to color
        Text("Hello",t2c={"[1:-1]": BLUE}),
        Text("World",t2c={"rl": RED}),
        # Text to font
        Text("Manim",t2f={"an": "Open Sans"}),
        Text("Manim",t2f={"[2:-1]": "Open Sans"}),
        # Text to gradient
        Text("Hello",t2g={"[1:-1]": (RED,GREEN)}),
        Text("World",t2g={"World": (RED,BLUE)}),
        # Text to slant
        Text("Manim",t2s={"an": ITALIC}),
        Text("Manim",t2s={"[2:-1]": ITALIC}),
        # Text to weight
        Text("Manim",t2w={"an": THIN}, font="Open Sans"),
        Text("Manim",t2w={"[2:]": HEAVY}, font="Open Sans"),
        # Ligature
        Text("fl ligature",font_size=40),
        Text("fl ligature", disable_ligatures=True, font_size=40),
    ).arrange_in_grid(cols=2).scale(1.4)

    self.add(grp)
Show result
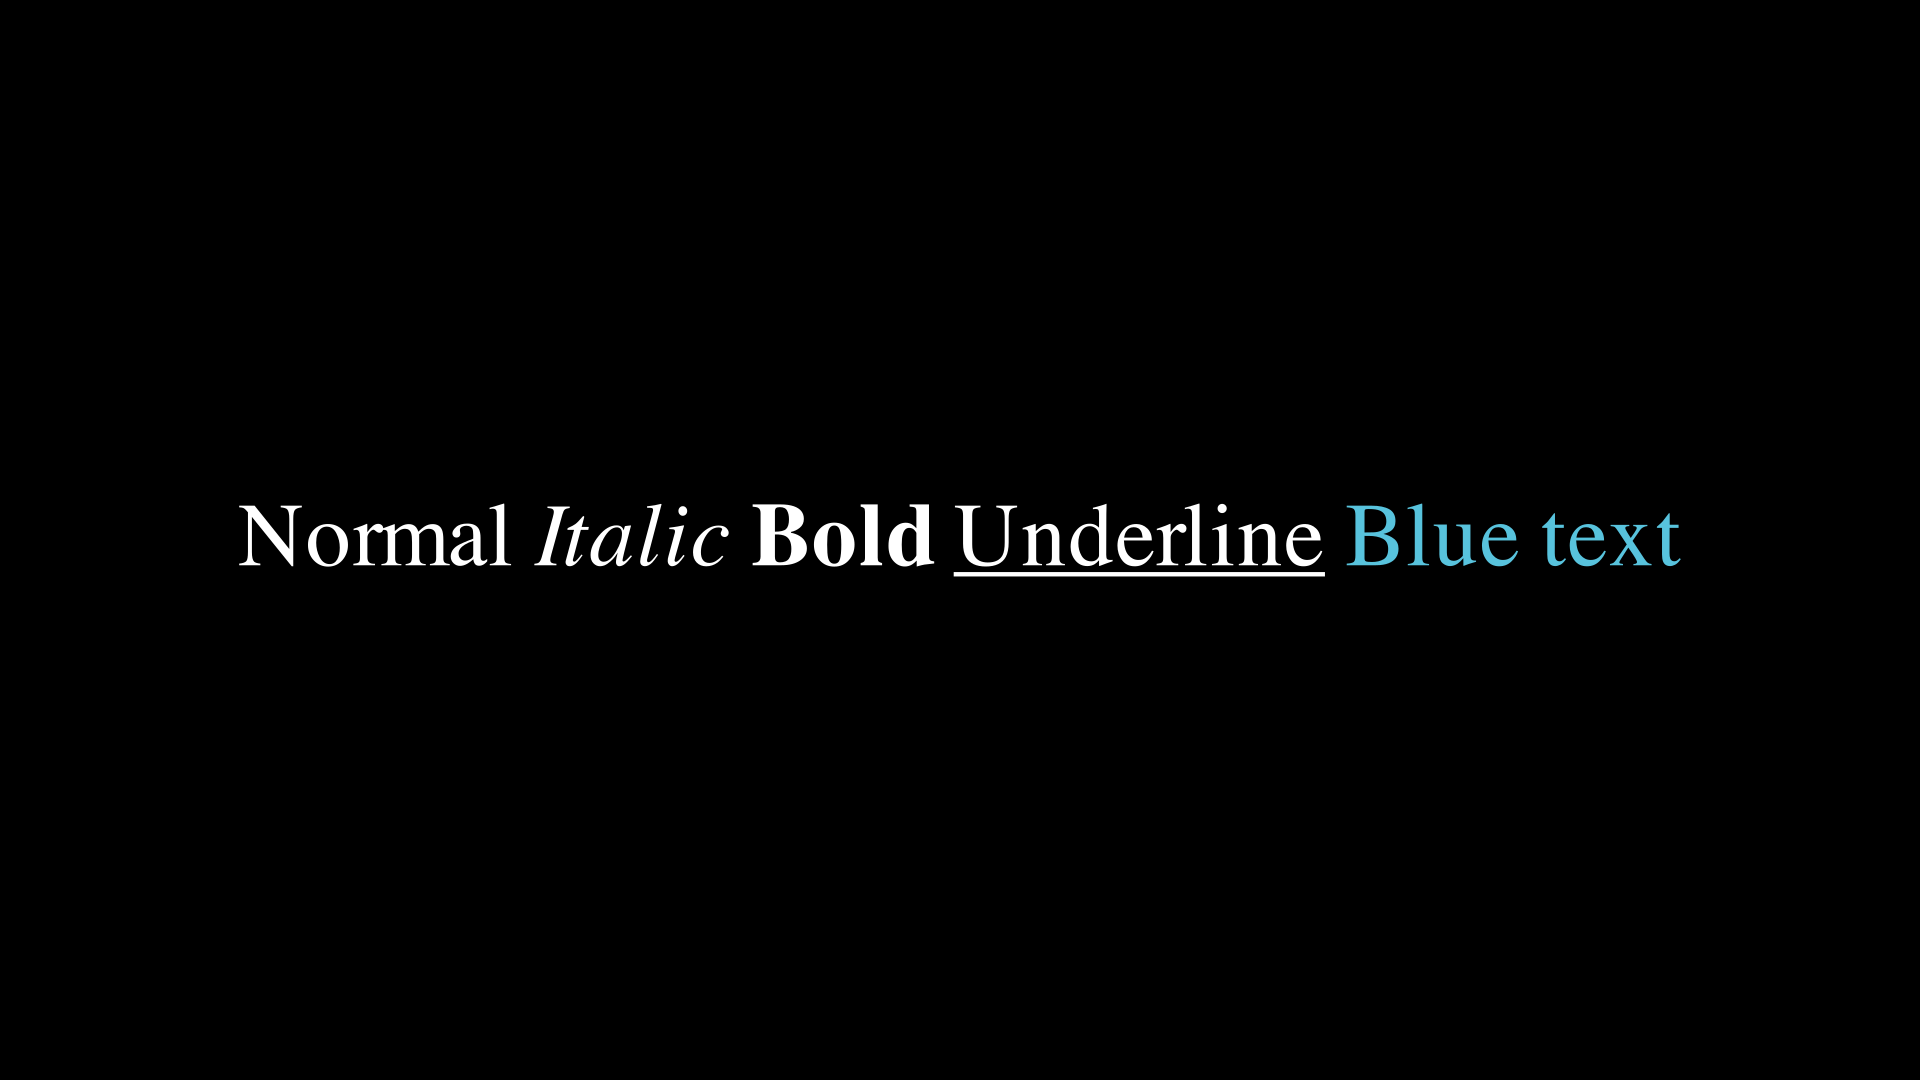
MarkupText
MarkupText is a class that uses PangoMarkup, language similar to HTML that allows us to modify the text with XML tags, if you understand HTML or **XML then it will be easy for you to understand this class.
def construct(self):
    text = MarkupText(
        f'Normal <i>Italic</i> <b>Bold</b> <u>Underline</u> <span foreground="{BLUE}">Blue text</span>'
    )
    self.add(text)
I recommend reading the official documentation if you want to learn how to use this tool as it has many configurations.
Show result
Tex
This is the most complex class, not only because it is the one with the most options, but because LaTeX is a world of its own.
If you do not have knowledge of LaTeX I recommend that you watch a 1-2 hour tutorial on the internet.
Templates
As you should know, to use LaTeX you must include the libraries you want to use, by default, Manim uses this template:
\usepackage[english]{babel}
\usepackage{amsmath}
\usepackage{amssymb}
But you can add, remove or modify predefined templates, you can see the predefined templates here.
If you want to do it manually you must follow these steps:
# Create a new TexTemplate
my_template = TexTemplate()

# Add new preambles (can be more)
my_template.add_to_preamble(r"\newcommand{\st}[2]{{\tt S}_{\rm #1}^{\rm #2}}")

# Create a new subclass with your template
class MyTex(Tex):
    def __init__(self, *args, **kwargs):
        super().__init__(*args, tex_template=my_template, **kwargs)

class TestMyTexTemplate(Scene):
    def construct(self):
        text = MyTex("$\st{sub-index}{super-index}$").scale(3)
        self.add(text)
Show result
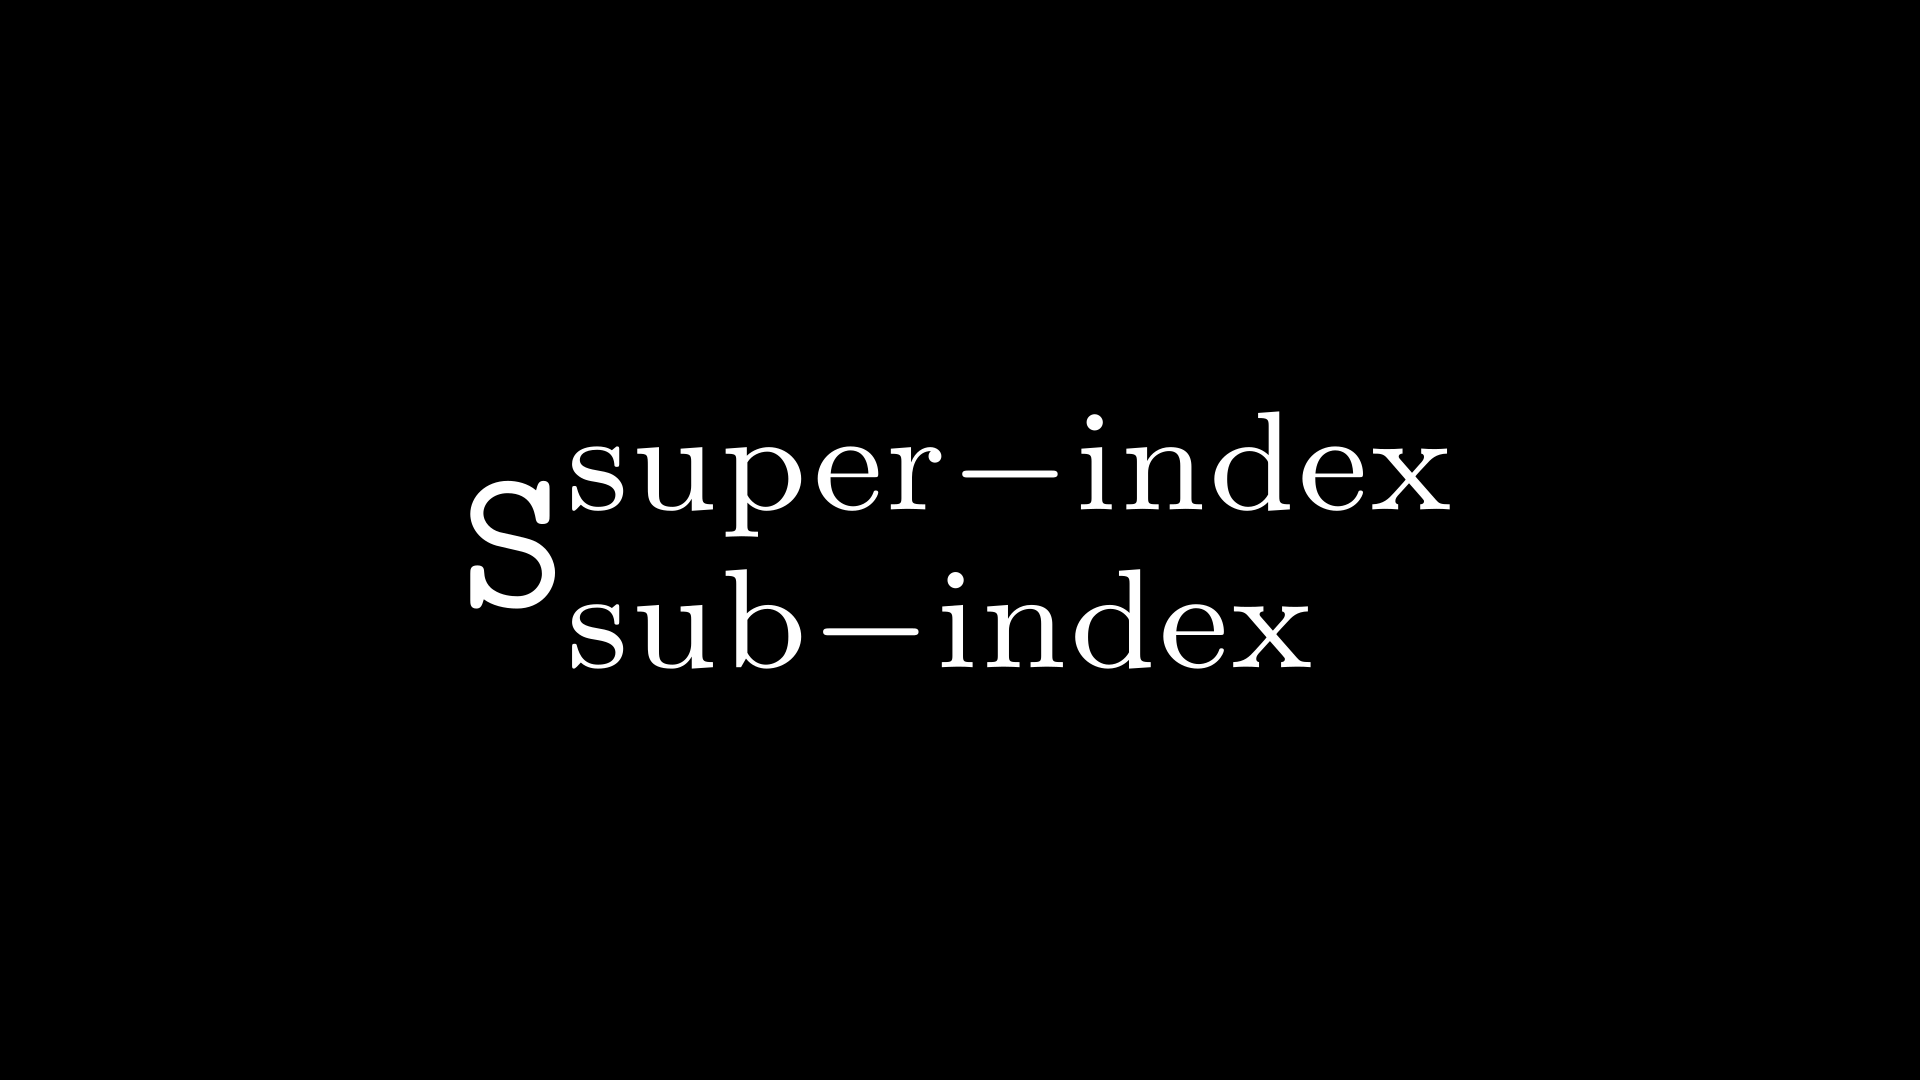
What Manim renders is the following:
\documentclass[preview]{standalone}

\usepackage[english]{babel}
\usepackage{amsmath}
\usepackage{amssymb}

\newcommand{\st}[2]{{\tt S}_{\rm #1}^{\rm #2}}
\begin{document}

\begin{center}
$\st{sub-index}{super-index}$
\end{center}

\end{document}
You can add as many preambles as you want.
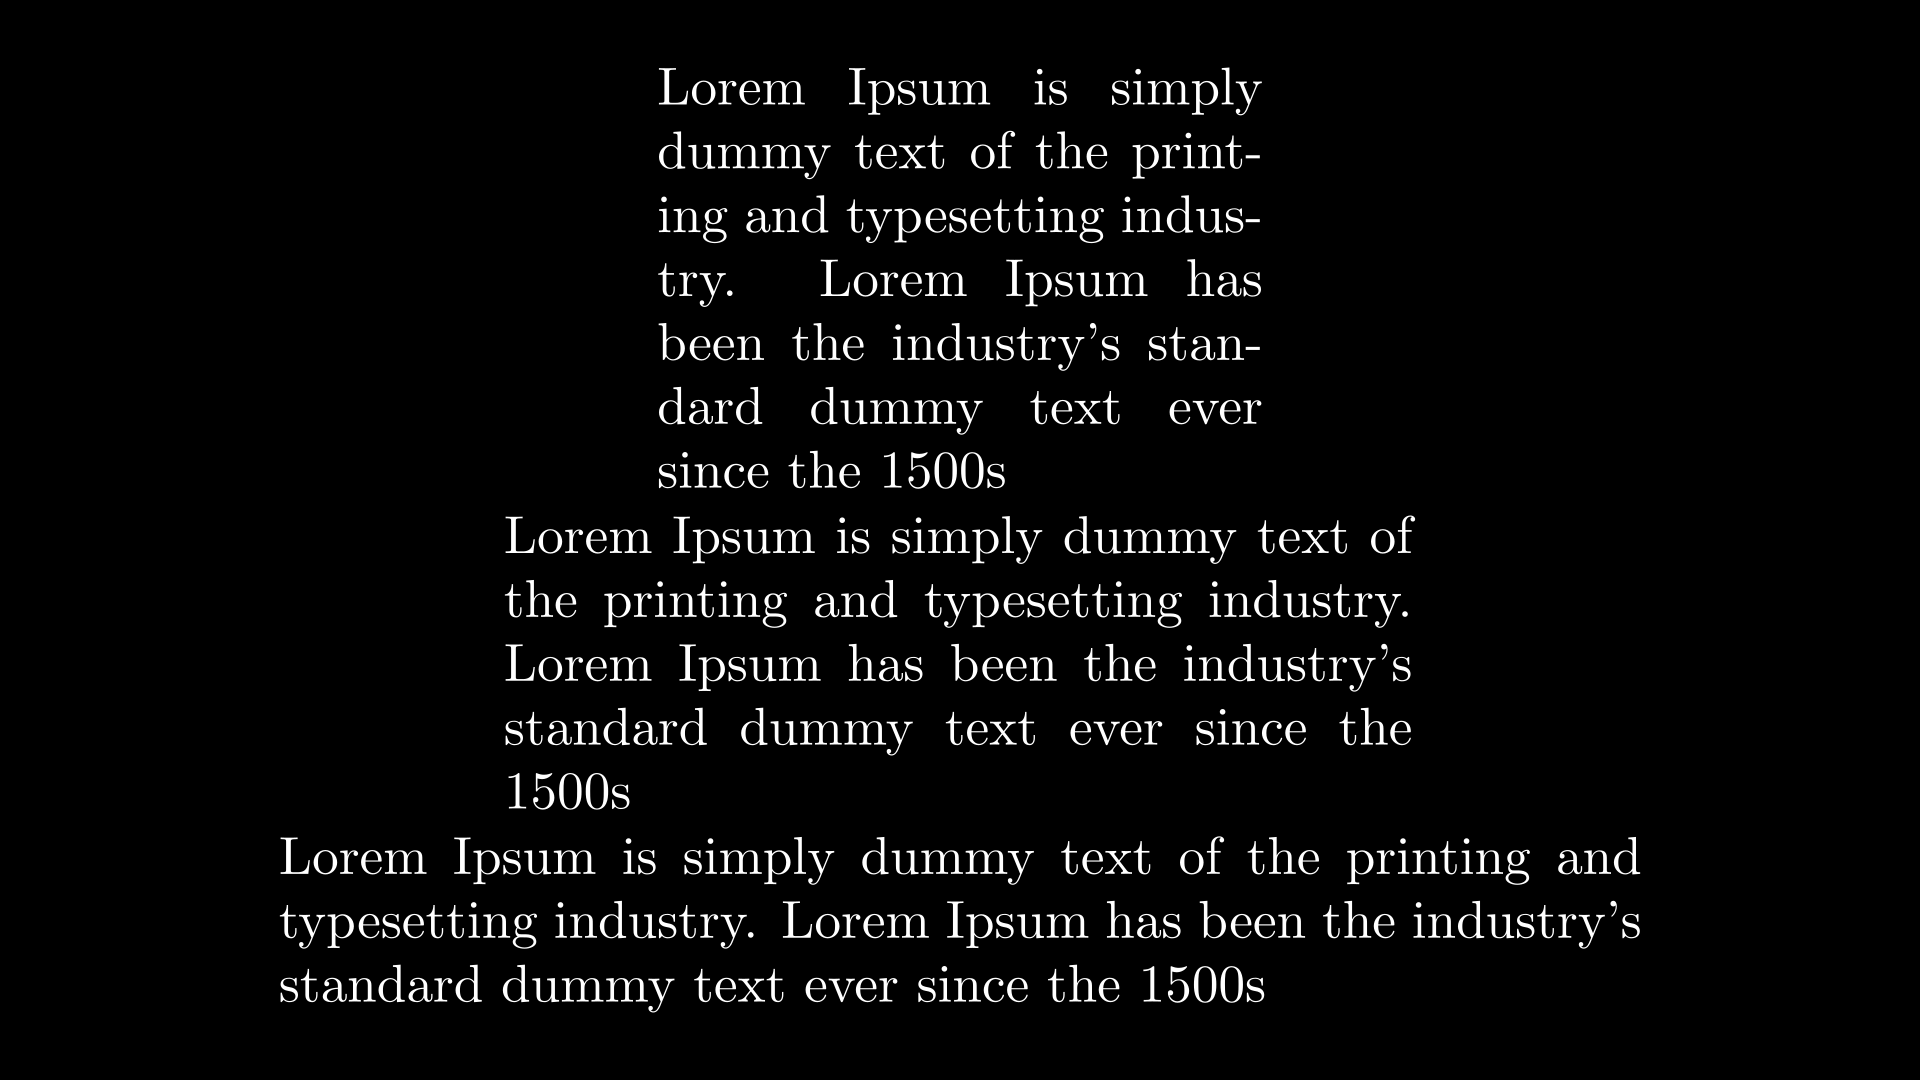
Enviroments
Also, if you want, you can create enviroments, I use a lot an enviroment that allows me to control the width of the justified paragraph.
class MyTex(Tex):
    def __init__(self, *args, j_width=4, **kwargs):
        super().__init__(*args, tex_environment="\\begin{tabular}{p{%s cm}}"%j_width, **kwargs)

class TestEnviroment(Scene):
    def construct(self):
        TEX = "Lorem Ipsum is simply dummy text of the printing and typesetting industry. Lorem Ipsum has been the industry's standard dummy text ever since the 1500s"
        t1 = MyTex(TEX)
        t2 = MyTex(TEX, j_width=6)
        t3 = MyTex(TEX, j_width=9)
        grp = VGroup(t1,t2,t3).arrange(DOWN)
        grp.height = config.frame_height - 1
        self.add(grp)
Show result
You can find all the exported files in media/Tex.
Tex as array
Like Text, Tex is an array of several SVGs, but this one is a bit more complex.
Tex not only accepts a single string, you can add as many strings as you want:
def construct(self):
    t1 = Tex("Hello world!")
    #              |  Note the space
    #              v
    t2 = Tex("Hello ","world","!")
    grp = VGroup(t1,t2).arrange(DOWN,aligned_edge=LEFT)
    self.add(grp)
This means that if we want to select only one element of Tex there are two possibilities.
If we want to select the third “l” of both texts then we must understand the following:
# Tex("Hello world!")
# returns a container, and that container
# contains another container with the letters,
# we can see it as:
# [['H','e','l','l','o','w','o','r','l','d','!']] (Blanks don't count in Tex)
# So, if you want to select the 3rd "l" you must do:
    def construct(self):
        t = Tex("Hello world!")
        t[0][-3].set_color(RED)
        self.add(t)

# Tex("Hello ","world","!")
# returns a container with 3 containers:
# [['H','e','l','l','o'],['w','o','r','l','d'],['!']]
# So, if you want to select the 3rd "l" you must do:
    def construct(self):
        t = Tex("Hello ","world","!")
        t[1][-2].set_color(RED)
        self.add(t)
Show result

Note
This topic will be important when we do formula transformations.
Tex to color map
This is equivalent to t2c, it works well if your text is simple, but if you use enviroments or your Tex is very complex, it will most likely not work, so you should use it with discretion.
def construct(self):
    t = Tex(
        "Hello my ","world",
        tex_to_color_map={
            "Hello": RED,
            "wor": ORANGE
        }
    )
    self.add(t)
Show result

MathTex
If Tex is LaTeX in normal mode, then MathTex is LaTeX in math mode, that is, MathTex("formula") is equivalent to Tex("$$formula$$").